10 basic steps for applying lash extensions
Eyelash extensions are one of the most popular beauty treatments these days. Time, dedication, and a lot of experience are all necessary when it comes to applying them, especially if you're just starting out as a lash artist.
In this blog, you'll understand how to apply lash extensions, how to remove them securely and correctly, eyelash extensions before and after photos, and lash care instructions, but first, let's talk about how to prepare for your lash appointment.
HOW DO YOU PREPARE YOUR CLIENTS FOR EYELASH EXTENSIONS?
The most important part of applying lash extensions is the preparation. If the client is properly prepared, the application process will go smoothly.
- Make sure to perform a full consultation before beginning your lashing procedure to identify the style, length, and thickness that your client desires.
- Remove eye makeup using a water-based cleaner before applying eyelashes, and then dry with a lint-free cloth. You will spend less time to deal with a client's eyelashes if they have a clean face. Curling eyelashes is not ideal. Working on the lashes while they are still in their natural state is preferable to prevent irritation.
- Contact lenses must be removed during lash application to avoid irritation and eye damage.
- Caffeine-containing beverages can cause eyelids to flutter, making applying eyelashes difficult. Incorrect extensions might be caused by excessive eye movement.
- Limit your liquid consumption. Clients are advised not to use the restroom frequently.
- Inquire about your clients' allergies prior to the eyelash appointment. Furthermore, it is best to have the client sign a waiver during the session for their own safety. (if necessary)
- They can listen to music or a podcast while relaxing at their appointment. They must put their phone down to avoid distraction and reading text messages.
- A fill session takes 40 minutes to an hour, while a full extension takes 2 to 3 hours. Inform your clients that the relaxing session will take place in comfortable clothing.
EYELASH EXTENSIONS FOR BEGINNERS: HOW DO YOU APPLY THEM?
#1 Wash the clients eyelashes
Cleaning the lashes is necessary to keep the adhesive that holds the lash extensions in place from breaking down due to makeup or oil.

#2 Apply primer to clients lashes
Primer is a pre-treatment for eyelash extensions that helps them stay in place longer. It enhances the bond between lash extensions and natural lashes.

#3 Apply the under eye patches gently
Take your time when applying lash patches. Keep an eye on your isolation tweezers for lash extensions. Their tips should not come into touch with the eye pad in most situations. Check the eye pads. Early detection of two or three lower lashes jutting out or even glued together is always preferable.

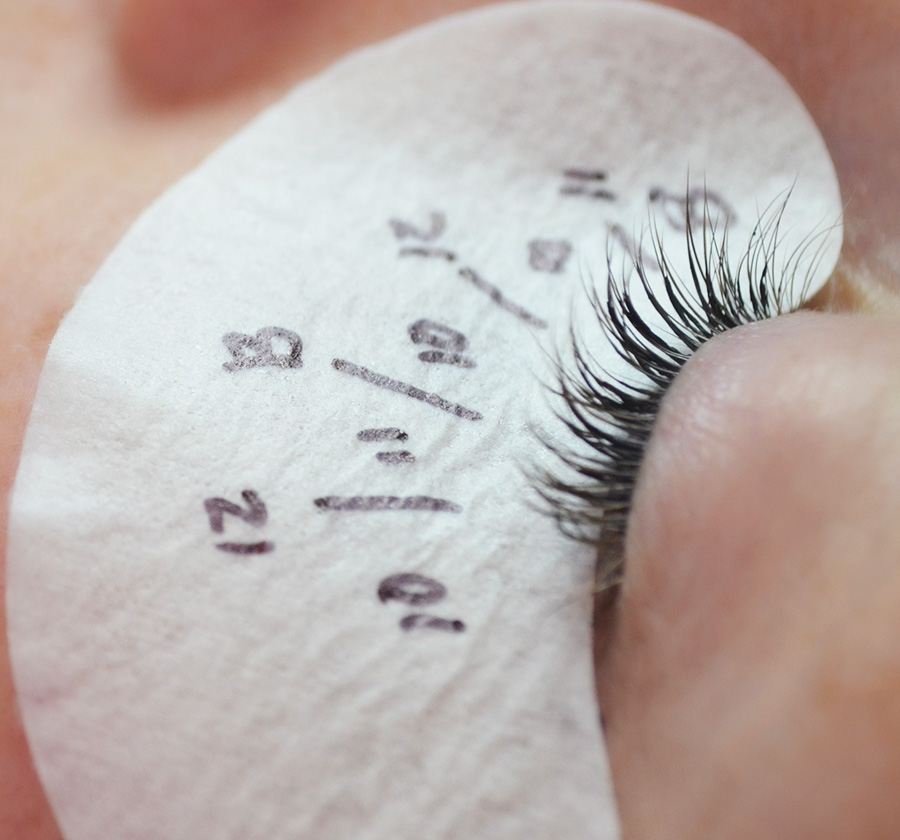
#4 Map out your lash set
Lash mapping also saves time by allowing you to create the beautifully styled lash extensions in less time and returning to your lash mapping at any time. No matter how long you've been lashing, eyelash mapping is essential for providing good lash extensions to your clients.
Read more: All about Lash Mapping
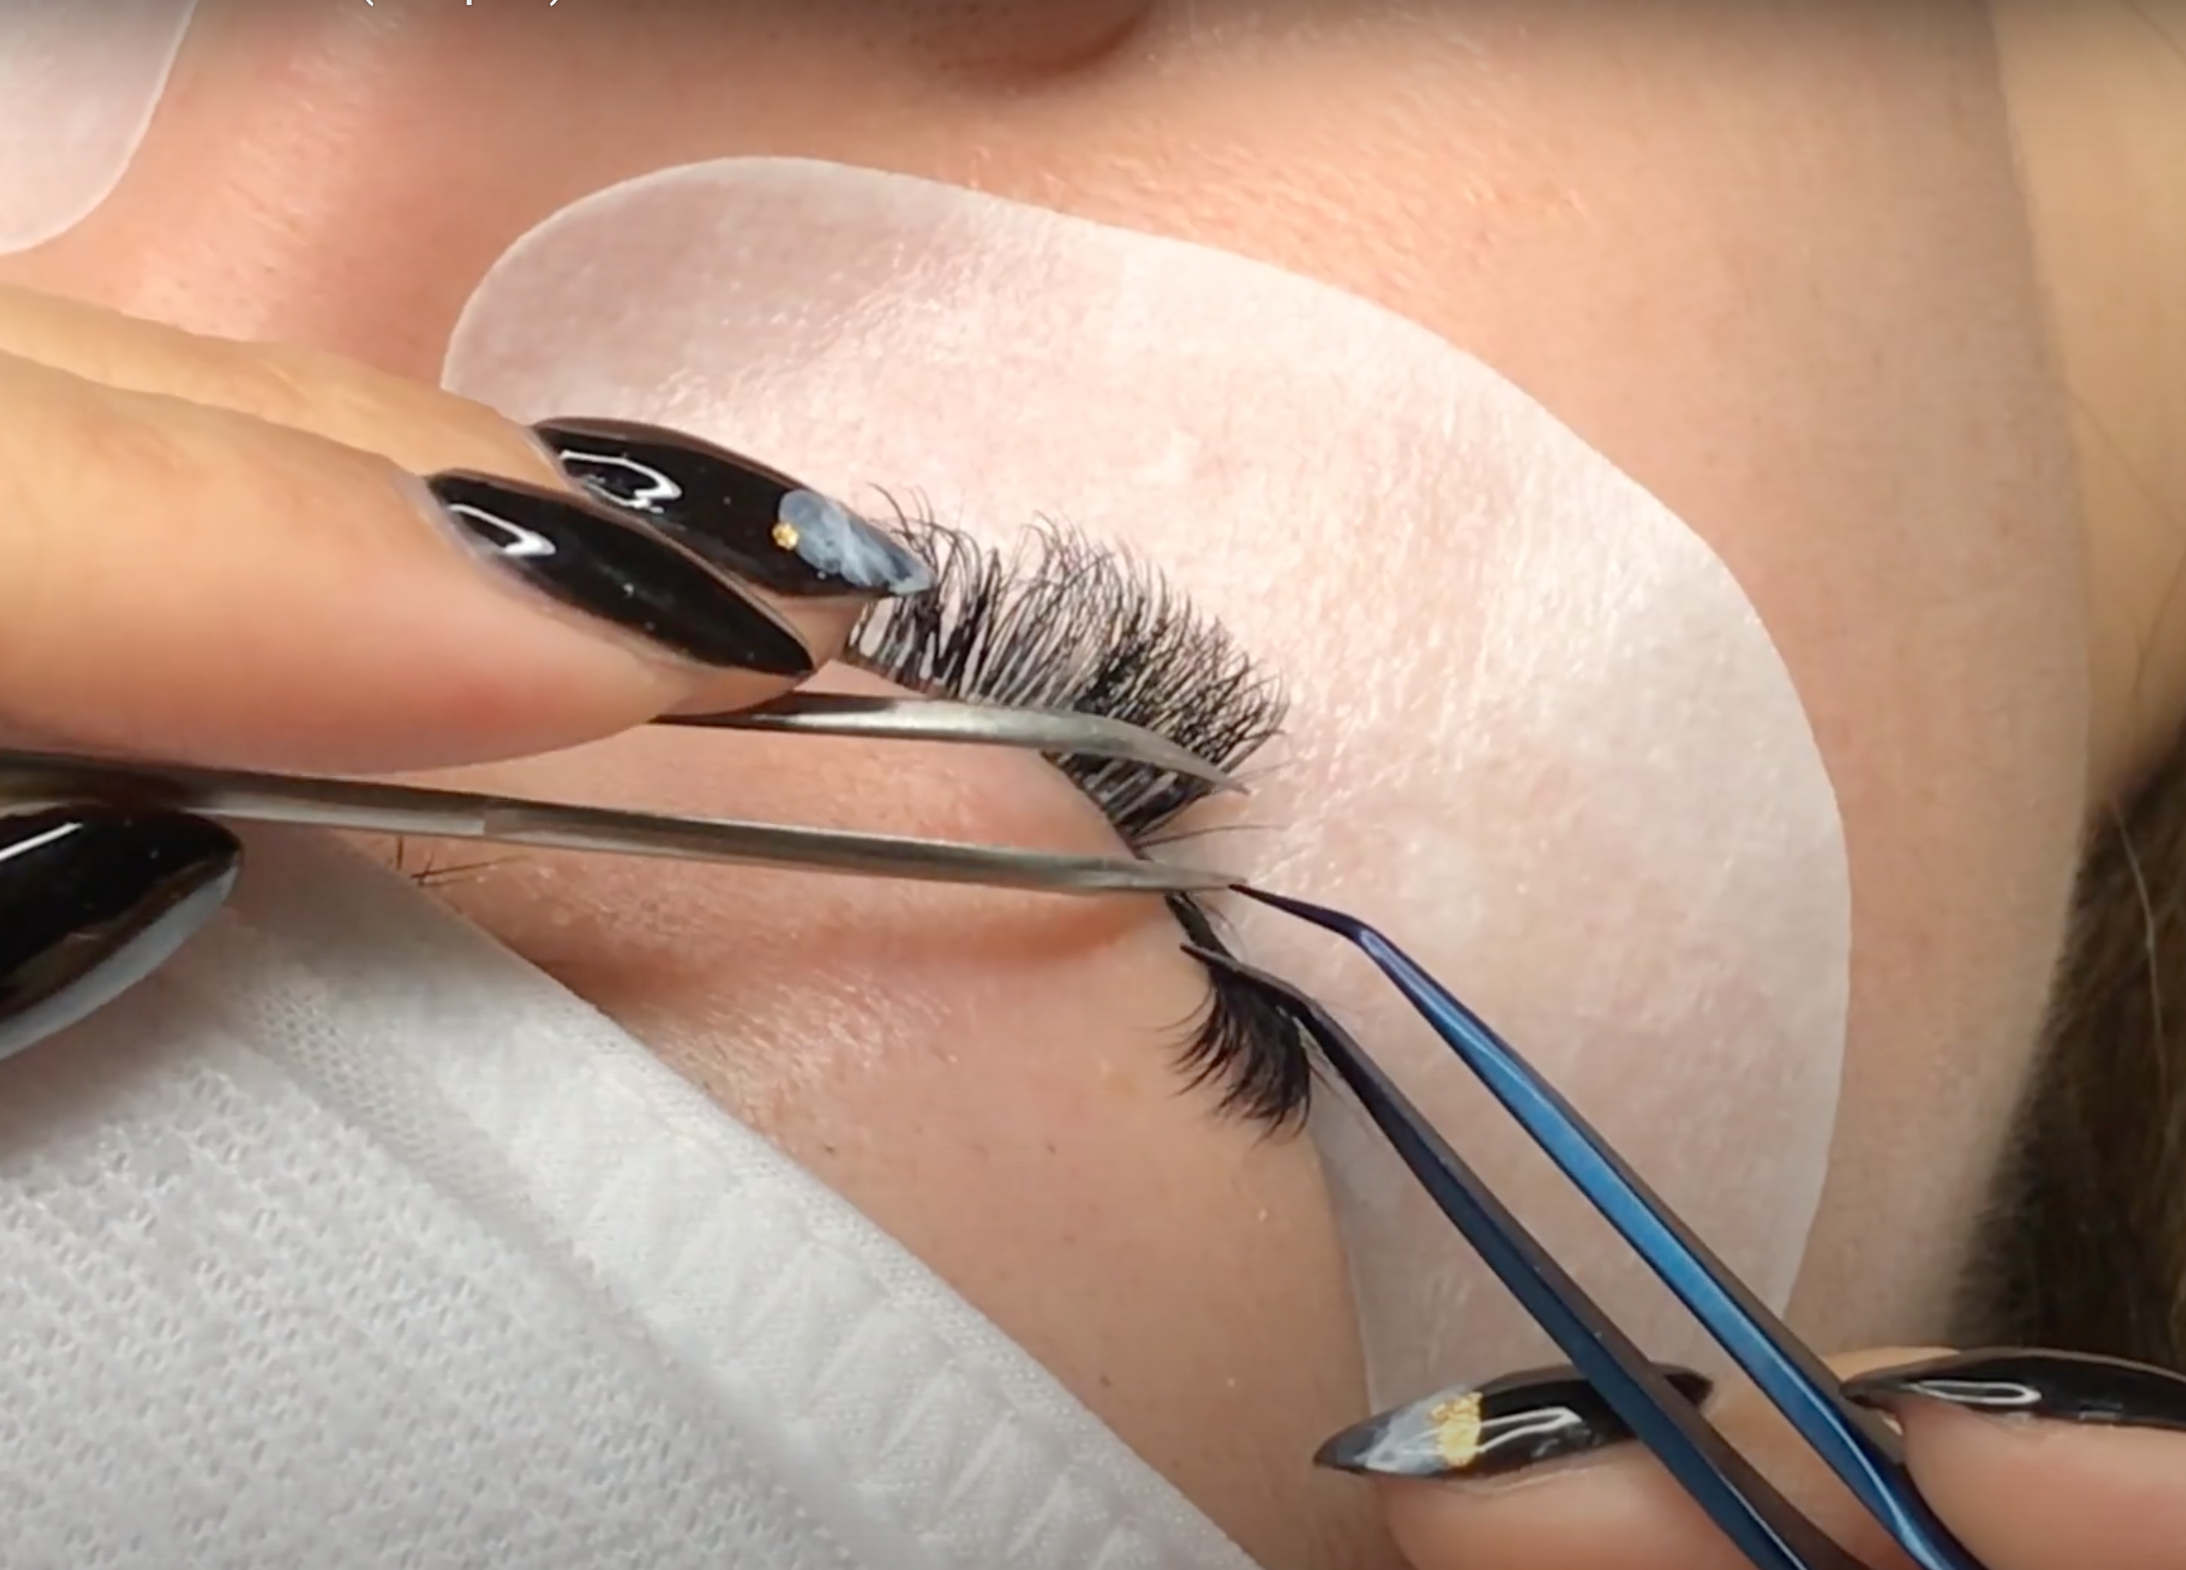
#5 Isolation
When isolating lashes, many lash artists neglect to use their pick up tweezers. Using both tweezers, on the other hand, makes placing and isolating your client's little lashes a lot easier.
When isolating with both tweezers, angle your isolation tweezer downwards, towards the lashes. Slant your pick-up tweezer up, raising and sliding the lashes aside, to create a clear range of view and make isolation easier.

#6 Slowly dip the lash into the glue
Dip the tapered end of the extension into the adhesive while holding it by its tapered end to get the perfect balance of too much and too little adhesive. To avoid issues with retention, make sure you use the right amount.

#7 Properly isolate and apply the extensions
Isolate the natural lashes before swiping the extension against them. Make use of the wrapping method. Apply the adhesive on the natural lash from base to tip, making sure there are no gaps in the adhesive. Evenly distribute the lash adhesive until it is smooth.
#8 Application
After swiping the lash extension with just enough glue to coat it on the natural lash roughly 1 mm from the eyelid, place it on the natural lash. Continue applying extensions to another region or the opposite eye until you accomplish your goal. It becomes more difficult to isolate more natural lashes, which helps to avoid stickies.
#9 Separated lashes
There should be no lash extensions or natural lashes that are stuck together. Using the two sets of lash tweezers, separate any extensions that are glued together. Grasp and separate the pieces horizontally; this is best done even if the adhesive is dry but not fully cured.

#10 Dry the lash extensions
Allow 3 to 5 minutes for the newly adorned lashes to dry after all lash extensions have been securely bonded. You should apply a super bonder to cure the adhesive bond if you want to boost retention. Dry the lashes using a lash fan. Mist with distilled water, allow to dry for 3 minutes, then inspect for stickies again.

Follow us @eyesylash for more useful tips and tricks!
Photos credit: Thousandlashes, Lash Bee Pro, Bllalashes, Her Lash Community, Organic Tan Face and Body, Beaulashstore, Acuity Scheduling.
